How to Convert Image to Embroidery File – A Step-by-Step Guide
June 11, 2024 | by Absolute-Digitizing
Transforming images into embroidery files is an exciting process that combines art and technology. With the right tools and techniques, you can turn any picture into a beautiful piece of embroidery. This guide will walk you through the steps to achieve this, ensuring a smooth and successful way to convert image to embroidery file.
Understanding Embroidery Files
What is an Embroidery File?
An embroidery file is a digital representation of a design that can be read by an embroidery machine. It contains information about the stitches, colors, and sequence needed to recreate the design on fabric.
Different Types of Embroidery Files
There are various types of embroidery files, each compatible with specific machines. Some common formats include DST, PES, and JEF. It’s essential to know which format your embroidery machine uses.
Why Convert Images to Embroidery Files?
Converting images to embroidery files allows you to personalize clothing, accessories, and home decor. It opens up endless possibilities for creative expression and customization.
Preparing Your Image
Choosing the Right Image
Select a high-quality image with clear details. Simple designs with distinct lines and minimal colors work best for embroidery.
Editing Your Image
Before converting, you may need to edit your image. Use graphic design software to clean up the image, remove unnecessary details, and adjust the contrast.
Converting to Black and White
Most embroidery software works best with black and white images. Convert your image to grayscale to simplify the digitizing process.
Selecting Embroidery Software
Top Embroidery Software Options
There are several software options available for converting images to embroidery files. Some popular choices include:
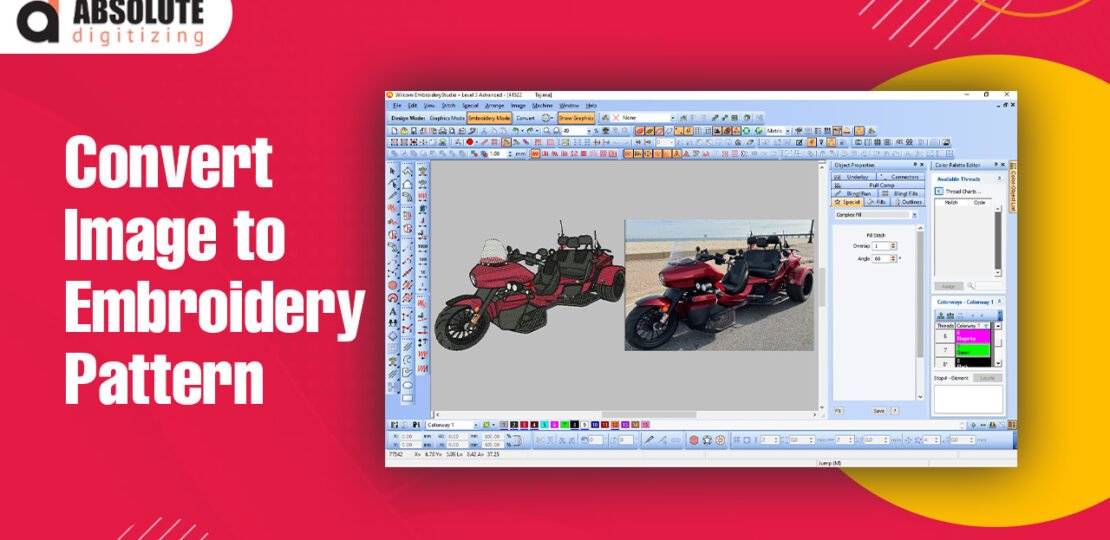
- Wilcom: Known for its robust features and ease of use.
- Embird: Offers a range of tools for editing and digitizing designs.
- Hatch: Suitable for both beginners and professionals.
Free vs. Paid Software
While free software can be useful, paid options often offer more advanced features and better support. Consider your needs and budget when choosing software.
Installation and Setup
Follow the installation instructions for your chosen software. Ensure your computer meets the system requirements for optimal performance.
Digitizing Your Image
Importing Your Image
Open your embroidery software and import the prepared image. Most programs have a straightforward import process.
Tracing the Design
Use the software’s tracing tools to outline the design. This step is crucial as it determines the path of the stitches.
Adding Stitch Types
Choose different stitch types to add texture and depth to your design. Common stitch types include satin, fill, and running stitches.
Adjusting Design Settings
Setting Stitch Density
Adjust the stitch density to ensure your design is not too dense or too sparse. This affects the final appearance and durability of the embroidery.
Choosing Thread Colors
Select thread colors that match your design. Most software allows you to visualize the design with different thread colors.
Setting the Stitch Order
Set the stitch order to ensure the design is stitched in the correct sequence. This helps prevent mistakes and ensures a smooth process.
Previewing Your Design
Using the Software Preview
Most embroidery software includes a preview feature. Use it to see how your design will look when stitched out.
Making Adjustments
If necessary, make adjustments to the design based on the preview. This could involve changing stitch types, adjusting density, or reordering stitches.
Saving Your Design
Save your design in the correct file format for your embroidery machine. Double-check that all settings are correct before exporting.
Transferring the File to Your Embroidery Machine
Using a USB Drive
Most modern embroidery machines allow you to transfer designs using a USB drive. Save your file onto the drive and insert it into the machine.
Direct Connection
Some machines offer direct connection via a USB cable. Connect your computer to the machine and transfer the file directly.
Using Embroidery Software
Certain machines come with proprietary software that facilitates file transfer. Follow the instructions provided by the manufacturer.
Stitching Out the Design
Preparing the Fabric
Hoop your fabric securely to ensure it remains taut during stitching. Use stabilizers to support the fabric and prevent puckering.
Loading the Design
Load the design into your embroidery machine following the manufacturer’s instructions. Ensure the design is properly centered in the hoop.
Running the Machine
Start the machine and monitor the stitching process. Be prepared to stop the machine if any issues arise, such as thread breaks or fabric shifting.
Troubleshooting Common Issues
Thread Breaks
If the thread breaks frequently, check the thread tension and needle size. Ensure the machine is properly threaded.
Fabric Puckering
Puckering can occur if the fabric is not hooped tightly or if the stabilizer is inadequate. Rehoop the fabric and use a stronger stabilizer if needed.
Design Misalignment
If the design is misaligned, check the hooping and make sure the fabric is centered. Realign the design in the machine if necessary.
Post-Stitching Finishing
Removing the Hoop
Carefully remove the fabric from the hoop to avoid distorting the design. Trim any excess stabilizer from the back.
Cleaning Up the Design
Use small scissors to trim any loose threads. Ensure the design looks neat and polished.
Pressing the Fabric
Lightly press the fabric with an iron to remove any hoop marks and give the embroidery a finished look.
Conclusion
Converting an image to an embroidery file by Absolute Digitizing, is a rewarding process that combines creativity and technical skill. By following the steps outlined in this guide, you can successfully transform any image into a beautiful embroidery design. From choosing the right image and software to digitizing and stitching out the design, each step is crucial for achieving the best results. With practice and patience, you can master the art of embroidery digitizing and create stunning, personalized pieces.
Embrace the creative journey and enjoy the satisfaction of bringing your digital designs to life on fabric. Happy stitching!
RELATED POSTS
View all


Unveiling the Mystery: A Comprehensive Guide to Enhancing Sexual Health and Overcoming Erectile Dysfunction
May 25, 2024 | by Freya Parker